1
00:00:01,300 --> 00:00:04,433
After cleaning, we start dismantling
2
00:00:12,500 --> 00:00:16,766
This is a damaged connector, we will remove it directly
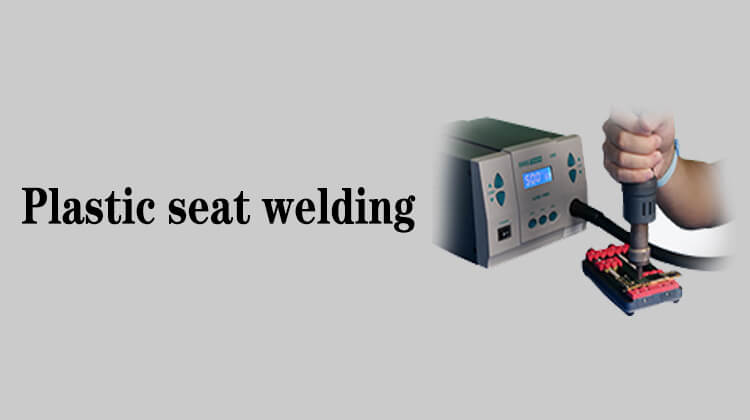
3
00:00:18,166 --> 00:00:20,766
Rotary-air SMD rework station
4
00:00:22,066 --> 00:00:26,333
Adjust the temperature to between 300-320 degrees
5
00:00:28,766 --> 00:00:31,400
Adjust the air volume to level 3 or 4
6
00:00:36,900 --> 00:00:40,766
If removing a connector which is about to be used from a motherboard
7
00:00:41,466 --> 00:00:44,666
We can put a little bit of soldering oil on the surface
8
00:00:45,766 --> 00:00:56,666
On the one hand, protect the plastic, on the other hand, after removing it, the solder joints will be more rounded
9
00:01:01,500 --> 00:01:03,933
Gently push it with tweezers while blowing
10
00:01:06,066 --> 00:01:07,433
See when it loosens
11
00:01:08,966 --> 00:01:10,233
Don't push so hard
12
00:01:10,833 --> 00:01:12,100
Don't press so hard
13
00:01:12,733 --> 00:01:14,900
Especially this dual layer motherboard
14
00:01:15,900 --> 00:01:19,533
If you press too hard, the middle frame may short-circuit
15
00:01:29,100 --> 00:01:30,633
Now it's melted