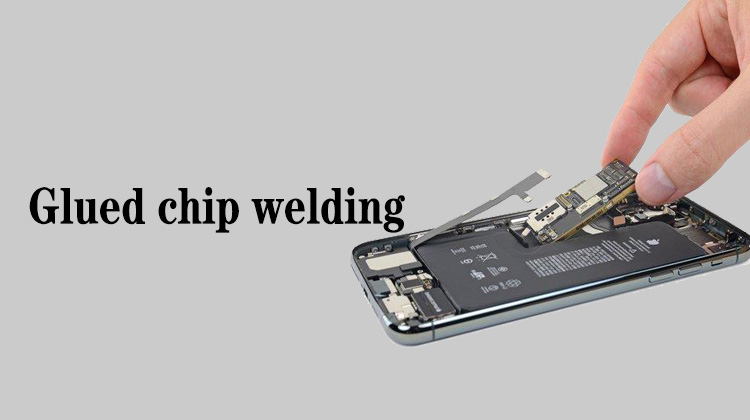
1
00:00:03,366 --> 00:00:06,600
After the chip is removed, we will scrape the glue
2
00:00:11,066 --> 00:00:14,933
I just checked the chip, there is basically no glue left on it
3
00:00:15,533 --> 00:00:17,433
The glue is mainly on the motherboard
4
00:00:18,200 --> 00:00:20,533
Now let's start scraping the glue on the motherboard
5
00:00:21,366 --> 00:00:24,833
Due to the size of the hard disk chip is relatively large
6
00:00:25,433 --> 00:00:27,533
It has a larger space to operate
7
00:00:27,833 --> 00:00:32,666
When we flatten the solder, it is not easy to stick to the surrounding components
8
00:00:33,033 --> 00:00:36,833
So we can apply low melt solder directly to the middle of the pad
9
00:00:40,866 --> 00:00:43,900
Use a soldering iron to melt the low melt solder
10
00:00:47,633 --> 00:00:50,033
Make every pad round and bright
11
00:00:53,333 --> 00:00:56,833
It means that it is completely neutralized with low melt solder
12
00:01:22,733 --> 00:01:26,966
After the low melt solder is applied, we will start to scrape the glue
13
00:01:29,500 --> 00:01:31,900
Rotary-air hot gun for glue scrapping
14
00:01:31,900 --> 00:01:33,766
About 230 degrees
15
00:01:34,200 --> 00:01:36,833
The air volume is still level 3-4
16
00:01:37,166 --> 00:01:39,533
The same temperature as chip reballing
17
00:01:40,800 --> 00:01:43,433
Then the air gun starts to heat the middle area
18
00:01:44,066 --> 00:01:45,300
Obeserve this pad
19
00:01:46,033 --> 00:01:48,166
The surface of the pad is now matte
20
00:01:49,500 --> 00:01:51,433
Reflection is not very strong
21
00:01:51,633 --> 00:01:55,633
The pads will be particularly bright when blown to a certain temperature
22
00:01:56,133 --> 00:01:57,500
Very reflective
23
00:01:58,166 --> 00:02:01,233
That means the solder has been melted and we start to scrape
24
00:02:02,400 --> 00:02:03,533
Don't in a rush
25
00:02:03,900 --> 00:02:05,033
Now it's lit up
26
00:02:06,566 --> 00:02:07,700
The solder melts
27
00:02:08,933 --> 00:02:12,133
Then lay the blade flat on the motherboard and flatten it back
28
00:02:14,533 --> 00:02:16,266
Scrape it off like this
29
00:02:16,700 --> 00:02:17,566
Don't shovel
30
00:02:18,733 --> 00:02:20,533
Don't cut it at an angle
31
00:02:22,166 --> 00:02:24,166
It is easy to scratch the motherboard
32
00:02:24,600 --> 00:02:27,766
We just lay the blade flat and flatten it to the back
33
00:02:43,233 --> 00:02:47,466
To keep turning the angle of the fixture so that we can operate easily
34
00:02:54,833 --> 00:02:58,933
After all the glue has been scraped off, remove the air gun
35
00:02:59,500 --> 00:03:02,133
Because low melt solder solidifies slowly
36
00:03:02,666 --> 00:03:07,333
So we're going to sweep the blade back and forth while the solder isn't solidifying yet
37
00:03:07,500 --> 00:03:10,133
Take away the excess glue and the excess solder
38
00:03:12,100 --> 00:03:14,966
Now it's solidified, let's blow it a little more
39
00:03:16,533 --> 00:03:19,400
This will save you trouble when we flatten the solder
40
00:03:19,800 --> 00:03:21,600
And it's not that difficult to clean
41
00:03:23,933 --> 00:03:24,900
Look at the blade
42
00:03:26,733 --> 00:03:28,633
A big lump of this glue on it
43
00:03:29,500 --> 00:03:30,766
It's easier to clean
44
00:03:33,100 --> 00:03:37,700
When there is a lot of glue on the blade, scrape it onto the motherboard fixture
45
00:03:39,033 --> 00:03:40,300
We're done with the glue


