1
00:00:05,300 --> 00:00:11,300
When welding the upper layer, apply the solder oil at the position of the honeycomb hole in the middle layer
2
00:00:14,366 --> 00:00:18,233
There is no pad in the middle area, so it does not need to be applied
3
00:00:18,533 --> 00:00:20,766
You just apply it on each of the pads
4
00:00:24,766 --> 00:00:27,400
There is also a pin 1 mark on the upper layer
5
00:00:27,533 --> 00:00:28,866
Both front and back
6
00:00:30,166 --> 00:00:33,233
On the reverse side, the mark is at this position
7
00:00:33,400 --> 00:00:35,033
A small golden triangle
8
00:00:35,366 --> 00:00:37,933
The front also has a small dot on this corner
9
00:00:39,733 --> 00:00:42,466
Still corresponds to the position of the flash
10
00:00:42,800 --> 00:00:47,033
After that's right, we clamp the upper and lower layers on both sides
11
00:00:47,666 --> 00:00:49,300
To align with tweezers
12
00:00:54,300 --> 00:00:55,166
Almost there
13
00:00:56,466 --> 00:00:58,066
Loosen the tweezers slowly
14
00:01:00,266 --> 00:01:01,166
Heat again
15
00:01:05,300 --> 00:01:08,433
Take a flashlight to observe the seam of the fit
16
00:01:10,166 --> 00:01:13,766
Rotary-air hot gun for 280-300 degrees
17
00:01:14,933 --> 00:01:16,933
Air volume level 3-4
18
00:01:32,033 --> 00:01:34,433
There was a slight movement of the cover
19
00:01:34,666 --> 00:01:36,066
Now it's moving again
20
00:01:36,466 --> 00:01:37,333
It's welded
21
00:01:39,233 --> 00:01:42,600
After this,blow it for 5 to 10 seconds more
22
00:01:46,166 --> 00:01:48,133
Let's wait for it to cool down a bit
23
00:01:50,733 --> 00:01:52,666
Then look at the gaps on the sides
24
00:01:56,633 --> 00:01:57,600
This position
25
00:01:57,800 --> 00:02:00,333
Adhesion can be clearly seen in each pad
26
00:02:01,833 --> 00:02:04,833
There is also a slight gap on both sides of the top
27
00:02:06,033 --> 00:02:07,833
Feels a little tight in the middle
28
00:02:08,033 --> 00:02:11,133
Because all CPU chips are relatively large in size
29
00:02:11,666 --> 00:02:15,033
After disassembly, it will be more or less deformed
30
00:02:16,700 --> 00:02:18,966
The middle position will be slightly arched
31
00:02:19,900 --> 00:02:25,033
As a result, it looks a little tighter in the middle and a little looser on both sides
32
00:02:25,833 --> 00:02:26,833
This is normal
33
00:02:31,033 --> 00:02:34,066
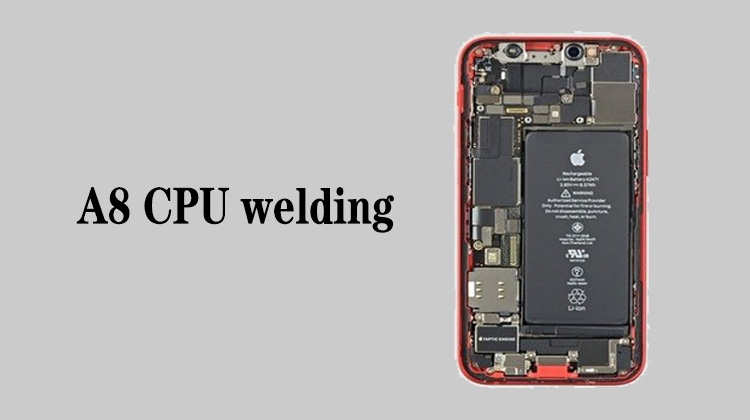
The A8 CPU has already been demonstrated

