1
00:00:03,466 --> 00:00:06,366
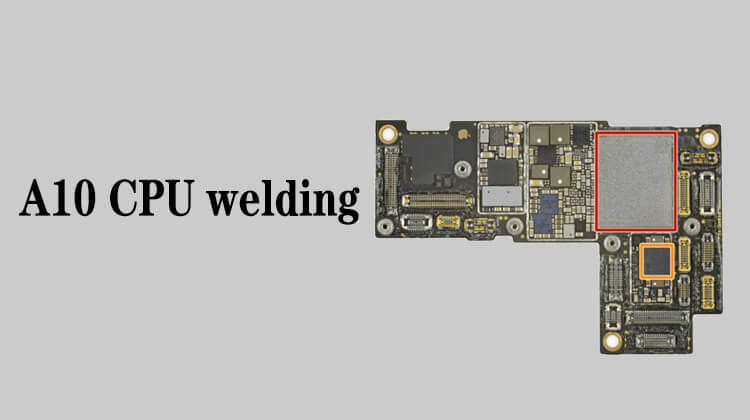
For this kind of CPU after a 10, when we directly disassemble
2
00:00:06,333 --> 00:00:09,700
and install it, there is no need to delaminate
3
00:00:10,833 --> 00:00:13,700
Because its middle layer is sealed with the kind of sealant
4
00:00:13,700 --> 00:00:15,500
when the chip leaves the factory,
5
00:00:17,433 --> 00:00:19,900
and it is resistant to high temperature.
6
00:00:22,666 --> 00:00:26,566
The tin inside won't extrude when heated, so we don't have to layer
7
00:00:27,966 --> 00:00:32,833
The sealant in the chip of A8 & A9 is sealed after leaving the factory
8
00:00:33,600 --> 00:00:36,166
The tin inside will extrude when heated
9
00:00:37,933 --> 00:00:40,100
After cleaning, we can start to reball
10
00:00:40,866 --> 00:00:43,700
We still reball by using the reballing platform
11
00:00:43,733 --> 00:00:44,866
Like this CPU
12
00:00:45,866 --> 00:00:48,166
There may be some residue around it
13
00:00:48,166 --> 00:00:49,666
that is not completely scraped
14
00:00:56,400 --> 00:00:58,600
For example, in the lower right corner
15
00:01:03,866 --> 00:01:06,566
We need to scrape it off with a blade firstly
16
00:01:08,366 --> 00:01:11,666
Otherwise, it won't fit into the slot of the fixture
17
00:01:18,166 --> 00:01:20,200
Now, let's scrape it off with a blade
18
00:01:30,466 --> 00:01:34,000
After clean it, We start to place the CPU
19
00:01:37,366 --> 00:01:41,733
For A10, put one foot to 0, and the other foot to another 0
20
00:01:42,433 --> 00:01:43,933
If so, it is inside
21
00:01:46,366 --> 00:01:50,300
There is still a little glue on this corner, scrape it off first
22
00:02:16,633 --> 00:02:19,666
After placing the CPU, let's place the stencil
23
00:02:24,133 --> 00:02:27,266
There are two kinds of stencils for A10 CPU
24
00:02:30,166 --> 00:02:33,466
This is the first one, you can see there are some perforations
25
00:02:33,466 --> 00:02:36,733
which corresponds to these small components below.
26
00:02:39,433 --> 00:02:44,066
Like these positions, we need to apply green oil to the bottom pads,
27
00:02:45,833 --> 00:02:49,533
prevent them from having larger solder points on them after reballing
28
00:02:58,566 --> 00:03:01,066
Now let's start to put the green oil
29
00:03:03,700 --> 00:03:06,966
There are some stencils that correspond to the positions
30
00:03:06,933 --> 00:03:09,300
of the components on the CPU are blocked
31
00:03:10,000 --> 00:03:13,033
For example, let's take a random stencil and take a look
32
00:03:13,666 --> 00:03:17,266
Like this CPU, these positions are blocked
33
00:03:21,066 --> 00:03:24,966
It has grooves on the back to cover the raised components on the chip
34
00:03:31,466 --> 00:03:34,966
But the stencil we just saw did not block these places
35
00:03:37,833 --> 00:03:40,700
Then we need to paint this position with green oil
36
00:04:20,433 --> 00:04:23,333
Try not to apply this green oil to the outside,
37
00:04:23,733 --> 00:04:25,800
otherwise it will hit the stencil
38
00:05:37,466 --> 00:05:39,366
Let's cure it with a curing light
39
00:06:24,000 --> 00:06:26,300
The chip is still slightly slanted
40
00:06:34,700 --> 00:06:35,666
Almost done
41
00:06:37,800 --> 00:06:39,400
It's okay to be a little slanted