1
00:00:04,133 --> 00:00:07,700
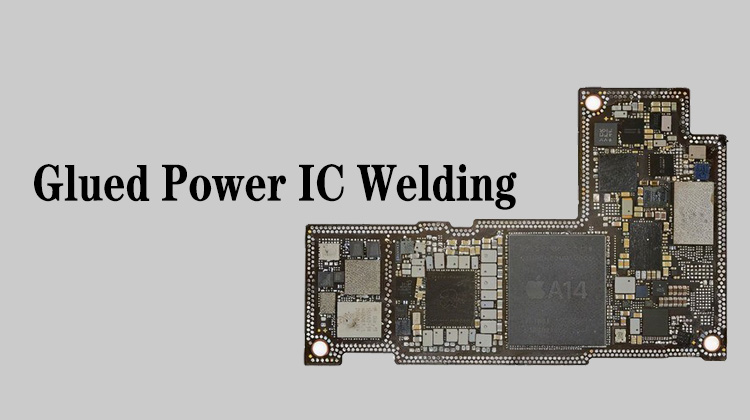
Hello everyone, today I will show you the welding method of power IC
2
00:00:12,700 --> 00:00:14,600
This is a mainboard of iphone 7
3
00:00:15,100 --> 00:00:17,666
Let's remove the sticker from this mask first
4
00:00:36,333 --> 00:00:38,533
Then we look at this power IC
5
00:00:42,066 --> 00:00:44,700
Inside the gaps of all the components around it
6
00:00:45,800 --> 00:00:47,333
We can see the black glue
7
00:00:49,666 --> 00:00:52,400
This chip is too close to the surrounding components
8
00:00:53,533 --> 00:00:56,133
If we use the glue-scraping method that we used to
9
00:00:56,133 --> 00:00:59,100
scrape the wifi and the hard drive before to remove it
10
00:01:01,500 --> 00:01:04,100
It's very easy to scratch the periphery of the chip
11
00:01:04,900 --> 00:01:08,166
And the surrounding small components are relatively easy to loosen
12
00:01:08,600 --> 00:01:10,766
because of the narrow gaps around them
13
00:01:12,400 --> 00:01:16,000
So, we're gonna use the same method we used to pry the non-glue chip
14
00:01:16,166 --> 00:01:18,533
to remove it directly with high temperature
15
00:01:19,833 --> 00:01:21,266
Let's go to see how to do it
16
00:01:24,600 --> 00:01:28,700
The power IC of this mainboard has 3 positions for the tweezer to get in.
17
00:01:30,733 --> 00:01:33,100
The surrounding area is relatively empty
18
00:01:36,000 --> 00:01:38,966
There's also nothing behind to get in the way of the tweezer
19
00:01:39,633 --> 00:01:41,366
And another position is here
20
00:01:42,200 --> 00:01:44,900
But it has a relatively high capacitor behind it
21
00:01:46,166 --> 00:01:50,666
We can remove the filter capacitor of the power supply of this cpu in advance
22
00:01:59,066 --> 00:02:01,200
And you can also pry by this position
23
00:02:04,966 --> 00:02:07,733
However, this resistor is likely to be touched
24
00:02:09,666 --> 00:02:12,000
and we have to remove the capacitor behind
25
00:02:13,266 --> 00:02:15,833
You can pry from these 3 positions
26
00:02:16,066 --> 00:02:17,166
But by comparison,
27
00:02:17,166 --> 00:02:18,700
this position is the first choice,
28
00:02:19,166 --> 00:02:21,333
and this position is the second choice,
29
00:02:35,200 --> 00:02:37,266
Then let's see how to disassemble
30
00:02:38,566 --> 00:02:42,233
We set the straight air gun to a temperature of 450 degrees,
31
00:02:42,433 --> 00:02:44,200
the maximum air volume
32
00:02:50,333 --> 00:02:53,333
Then blow at this position where the tweezer will get in
33
00:02:53,866 --> 00:02:55,500
Poke the tweezer under the chip
34
00:03:07,200 --> 00:03:11,066
Ok, now a small piece of the tweezer has been stuffed under the chip
35
00:03:11,866 --> 00:03:13,466
Then we can start prying
36
00:03:28,600 --> 00:03:31,466
The air gun starts heating at the center of the chip
37
00:03:34,666 --> 00:03:36,066
Pry hard with the tweezer
38
00:03:46,966 --> 00:03:49,033
Pry this chip, the force must be strong
39
00:03:49,200 --> 00:03:52,733
Otherwise, when you pry it off, the tin extrude might happen
40
00:04:16,933 --> 00:04:19,633
In this way, the power IC removal is done
41
00:04:20,066 --> 00:04:23,800
After removing it, you can take a look at these solder pads under the chip
42
00:04:26,000 --> 00:04:27,500
They are basically flat.
43
00:04:30,300 --> 00:04:36,100
Only the position where we pry through is a little rounded or we could say the tin here is melted
44
00:04:42,366 --> 00:04:47,933
In this way, it can be 100% guaranteed that the tin extrude event will not happen on the CPU,
45
00:04:48,166 --> 00:04:50,666
nor on the small components next to it.
46
00:04:55,566 --> 00:04:58,966
Once you remove a little late, the solder pads start to melt
47
00:04:59,566 --> 00:05:02,466
and the tin extrude will happen on the components,
48
00:05:03,300 --> 00:05:06,666
the, small resistors like these are likely to become loose
49
00:05:07,366 --> 00:05:08,800
they need to be reprocessed
50
00:05:09,866 --> 00:05:11,866
That would be a huge waste of time
51
00:05:13,633 --> 00:05:16,633
And there is a possibility that the cpu will be blown up
52
00:05:16,666 --> 00:05:18,000
if you remove a too late
53
00:05:18,800 --> 00:05:21,333
Because this power IC is just behind the cpu
54
00:05:21,533 --> 00:05:24,200
Therefore, we must control the temperature appropriately.
55
00:05:27,533 --> 00:05:29,100
When you pry in this position,
56
00:05:29,100 --> 00:05:31,333
Be sure to push the tweezers up firmly
57
00:05:31,933 --> 00:05:34,833
At the beginning, when the mainboard was not locked firmly,
58
00:05:35,033 --> 00:05:36,800
the head on this side curled up,
59
00:05:39,833 --> 00:05:41,866
indicating that I pried very hard.


