1
00:00:02,600 --> 00:00:05,533
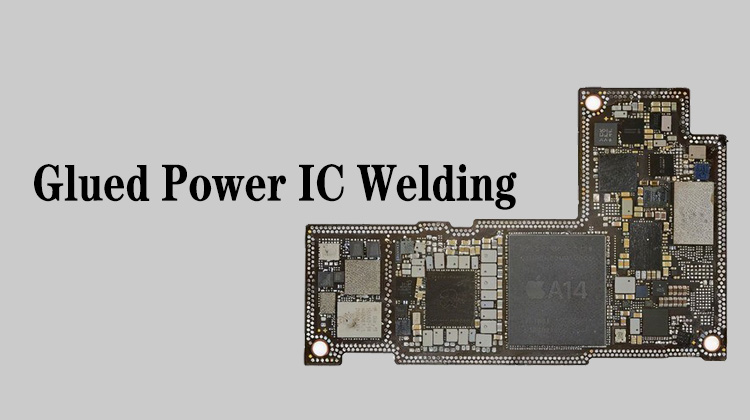
Next, let's deal with the pads of the mainboard
2
00:00:09,066 --> 00:00:12,733
There are more dirty things on the edge, so don't rush to flatten it
3
00:00:12,933 --> 00:00:15,100
First clean up this residue or something
4
00:00:17,200 --> 00:00:21,100
Otherwise, after flattening, the residue will be more difficult to clean
5
00:00:36,466 --> 00:00:38,666
Put some soldering oil on the mainboard
6
00:00:47,466 --> 00:00:50,933
Use the solder wick to smooth all the soldering tin on the pads
7
00:01:16,000 --> 00:01:18,333
When flattening, the force must be light
8
00:01:59,366 --> 00:02:02,700
the big, unmovable spots like this one on the edge
9
00:02:02,700 --> 00:02:06,633
appeared when the low melt solder is not completely flattened through
10
00:02:07,066 --> 00:02:10,733
Dip some low melt solder on the soldering iron and flatten again
11
00:02:50,766 --> 00:02:54,466
Because there is a lot of glue residue at the very edge at the beginning
12
00:02:54,766 --> 00:02:58,066
When we flattened, some pads were separated by the glue
13
00:02:58,800 --> 00:03:01,066
The soldering iron is not easy to reach it
14
00:03:02,600 --> 00:03:04,866
So after this edge glue is processed,
15
00:03:05,233 --> 00:03:08,600
if the surrounding tin is not clean, we will flatten it again
16
00:03:22,933 --> 00:03:26,900
At this time, take the solder wick to absorb it, it will be easier to melt
17
00:04:10,966 --> 00:04:14,766
Okay, after all the pads have been flattened, let's clean it up
18
00:04:38,733 --> 00:04:40,933
Let's clean up the solder residue around
19
00:04:41,133 --> 00:04:44,866
Because when the glue is removed and then the low melt solder is applied,
20
00:04:45,200 --> 00:04:47,066
there will be some small residues.
21
00:04:47,400 --> 00:04:50,200
We're going to clean it up to prevent a short circuit
22
00:04:51,400 --> 00:04:52,533
it is now active
23
00:04:52,766 --> 00:04:56,200
But once heated, it may stick to the middle of the components
24
00:04:56,833 --> 00:04:58,900
It doesn't matter much like this position
25
00:04:59,100 --> 00:05:02,266
But there must be no tin paste on the top side just now.
26
00:05:18,466 --> 00:05:20,500
Take a look at the position of the copper leak
27
00:05:21,400 --> 00:05:25,800
If the copper leakage is a little more serious, we need to put a little green oil
28
00:05:26,433 --> 00:05:28,033
Like this, it doesn't really matter,
29
00:05:28,200 --> 00:05:30,066
because it's far away from the edge
30
00:05:32,833 --> 00:05:35,633
There is also a little copper leakage on this corner,
31
00:05:35,866 --> 00:05:37,100
but it doesn't matter.
32
00:05:40,833 --> 00:05:42,600
We have already dealt with the pads


