1
00:00:03,466 --> 00:00:05,100
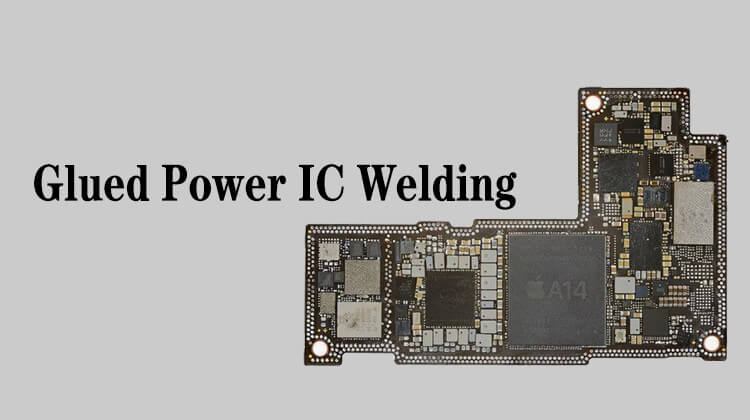
Next we start welding
2
00:00:07,000 --> 00:00:09,900
Use the air gun to blow the mainboard to heat it
3
00:00:12,866 --> 00:00:14,666
Put a little bit of flux
4
00:00:20,766 --> 00:00:22,166
Don't add too much
5
00:00:22,166 --> 00:00:24,366
Because the chip itself is very thin
6
00:00:27,600 --> 00:00:29,066
If the flux is very thick
7
00:00:30,666 --> 00:00:33,666
Once it boils, the chip will move around on it
8
00:00:34,733 --> 00:00:36,533
After adding, swipe it around
9
00:00:44,966 --> 00:00:46,433
Only a thin layer is required,
10
00:00:46,433 --> 00:00:49,533
as long as each pad is covered with the flux
11
00:01:07,933 --> 00:01:10,933
After the flux is applied, let's place the chip
12
00:01:11,733 --> 00:01:13,566
There is no mark on the back of the chip
13
00:01:14,200 --> 00:01:16,733
Check to see if there is any residue on it
14
00:01:22,700 --> 00:01:25,400
There's a fluff here, take it off
15
00:01:26,066 --> 00:01:27,766
If it is not easy to handle,
16
00:01:27,766 --> 00:01:31,233
you can brush it directly across a dustless cloth
17
00:02:14,700 --> 00:02:16,566
Now we start to place the chip
18
00:02:17,466 --> 00:02:20,900
The corner marked 1 should be aligned to our lower left corner
19
00:02:25,300 --> 00:02:29,100
It can be seen from this position that we pryed the chip just now,
20
00:02:29,533 --> 00:02:31,566
there was a little pry damage here
21
00:02:34,800 --> 00:02:36,933
If you are not sure, you can find a mainboard
22
00:02:36,933 --> 00:02:38,533
of the same model for reference,
23
00:02:48,133 --> 00:02:51,633
the logo of this corner marked 1 is right to the lower left corner
24
00:02:58,866 --> 00:03:01,900
It's a little bit slant now, need to correct
25
00:03:03,866 --> 00:03:05,466
Don't let it slant too far
26
00:03:10,700 --> 00:03:15,033
We start heating, the straight air gun is 450 degrees,
27
00:03:15,300 --> 00:03:17,066
and the air volume is the minimum
28
00:03:21,466 --> 00:03:24,366
It is exactly the same as the non-glue chip
29
00:03:24,733 --> 00:03:27,933
After you remove the glue, this chip is a non-glue chip
30
00:03:41,566 --> 00:03:42,733
Let's take a closer look
31
00:03:43,133 --> 00:03:44,900
During the heating process of the chip,
32
00:03:45,133 --> 00:03:46,766
there may be an homing action
33
00:03:48,866 --> 00:03:51,200
That means it will move a little in my direction
34
00:03:52,300 --> 00:03:53,366
look carefully
35
00:04:15,366 --> 00:04:16,766
It moved a little over
36
00:04:19,600 --> 00:04:23,566
As soon as it moves, blow it for another two or three seconds
37
00:04:23,700 --> 00:04:24,933
and stop the heat
38
00:04:25,300 --> 00:04:28,333
If the blowing time is a little longer, the tin extrude
39
00:04:28,333 --> 00:04:30,833
may happen in the surrounding small components
40
00:04:30,833 --> 00:04:32,733
including such small chips
41
00:04:35,866 --> 00:04:37,533
If you are unstable with the tweezer
42
00:04:37,700 --> 00:04:39,933
remember never to use the tweezer to move it
43
00:04:40,900 --> 00:04:43,733
Otherwise, it is easy to touch the corner of the chip,
44
00:04:43,833 --> 00:04:45,600
resulting in a short circuit
45
00:04:51,000 --> 00:04:55,000
Only after practicing for a while, your hand is relatively stable,
46
00:04:55,200 --> 00:04:57,433
and it is not easy to shake the tweezers
47
00:04:57,833 --> 00:05:00,433
You can gently move it a little bit from the side.
48
00:05:01,466 --> 00:05:02,900
you must not press it
49
00:05:06,066 --> 00:05:07,733
Now, we're done welding this chip