1
00:00:00,700 --> 00:00:02,166
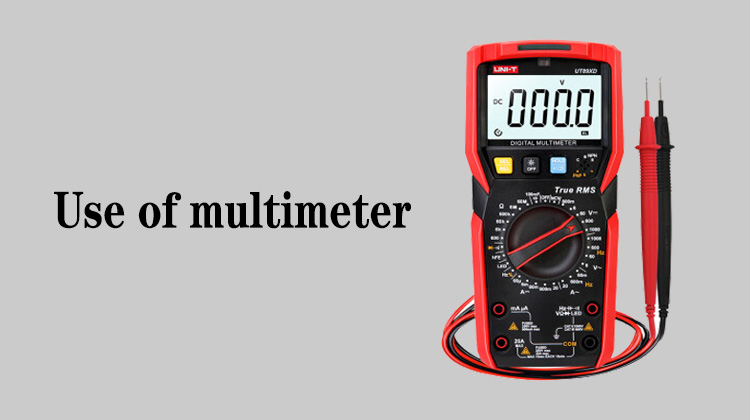
Usage of multimeter
2
00:00:03,000 --> 00:00:08,566
In this video, we demonstrate the use of the basic functions of the automatic range multimeter
3
00:00:09,300 --> 00:00:14,500
Next, I will use the FLUKE 15B+ multimeter as an example to demonstrate
4
00:00:14,933 --> 00:00:18,366
Insert the red marker into the red jack of V/ 惟,
5
00:00:19,066 --> 00:00:22,500
and insert the black marker into the black jack of COM logo
6
00:00:25,533 --> 00:00:27,366
Let's test the voltage first
7
00:00:28,700 --> 00:00:30,866
Select the DC voltage range,
8
00:00:32,333 --> 00:00:36,333
the multimeter shows that the voltage is 4.298V
9
00:00:38,833 --> 00:00:40,800
Let's use the data hold function
10
00:00:43,433 --> 00:00:46,700
When we measure a voltage, press the data hold key,
11
00:00:49,133 --> 00:00:53,533
release the marker, and the voltage value will remain on the display
12
00:00:55,333 --> 00:00:59,633
After pressing the hold button again, the data hold will be released
13
00:01:01,866 --> 00:01:03,233
Backlight function
14
00:01:03,666 --> 00:01:05,900
When we press the backlight switch button,
15
00:01:06,066 --> 00:01:09,000
we can see that the backlight has a slight brightness,
16
00:01:11,700 --> 00:01:15,033
and when we press it again, the backlight is turned off
17
00:01:15,633 --> 00:01:17,133
Function switch button
18
00:01:17,766 --> 00:01:21,133
Adjust the multimeter to the buzzer/ diode/ ohm position,
19
00:01:23,566 --> 00:01:25,766
press the yellow function switch button
20
00:01:31,866 --> 00:01:34,966
When the beep icon is displayed on the screen,
21
00:01:35,200 --> 00:01:37,633
it means that we selected the buzzer range
22
00:01:38,066 --> 00:01:40,733
Press it again to display the diode icon,
23
00:01:41,066 --> 00:01:43,900
indicating that it is currently in the diode range
24
00:01:46,433 --> 00:01:52,233
Press it again to display the ohm icon, indicating that it is currently in the resistance range
25
00:01:53,766 --> 00:01:55,666
Ok, that's all for this video


